16 Jul A Primer on Applying Acrylic Nails
Applying acrylic nails using a kit is not horribly difficult, but should be practiced on a wooden dowl roughly the diameter of a finger before applying acrylics to real fingers. For the most natural looking results choose kits containing an Ethyl Methacrylate(EMA)based primer or kit de uñas de porcelana.
Safety First
Applied improperly the chemicals in a kit are potential allergens thus the need for practice. The primer maybe acid based. Look for an acid-free primer to avoid the risk of burns.
Soak your nails in pure acetone to remove old acrylic tips, never just pull them off. Apply acrylic nails in a well-ventilated area.
Prepping Your Nails
Old nail polish must be removed with a nail polish remover that is oil-free. Trim your nails leaving the tip about 1/8″ long. Use a nail file to make the tips evener.
Make the surface of your nails rough with a soft nail file. This strengthens the acrylic’s hold. Next, you prepare the cuticle.
Soak your fingers in warm water to soften the cuticle. On each finger, using a wooden cuticle stick, Start at the base of the nail’s “small moon” and push the cuticle towards your finger.
Use a lint-free cloth to apply the nail primer. This step is vital for the acrylic to hold properly.
There are also a few awesome tutorials on Youtube, that you can check out before you get started, like this one:
Gluing The Tips On
Pick-out 10 acrylic tips that fit your nails. Tip size can be altered using a file. Apply glue across the width of the nail. Position the acrylic nail tip edge with the glue at about the middle of your nail.
Clamp the tip in place using your fingers and hold for five seconds. If the tip is a little-crooked dip your finger in water until the tip loosens then reposition it. Repeat nine more times.
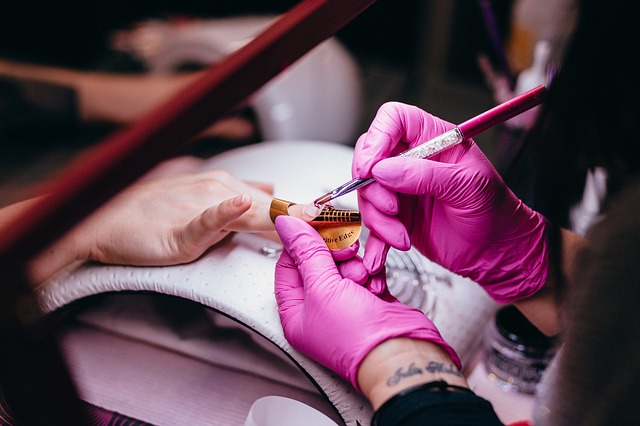
Pour some acrylic powder into a dish and the liquid acrylic into a second dish. Put liquid acrylic on the brush by pushing the brush against the bottom of the dish maintaining pressure on it until there are no visible bubbles. Use the lip or side of the dish to remove excess acrylic.
Create a damp ball of acrylic on the brush tip by skimming the brush over the powder. Use paper towel to clean the brush between applications of acrylic.
Place your acrylic ball on the seam where the acrylic tip joins the nail and press the ball flat. Spread the acrylic the length of the artificial tip using a fast easy stroke.
Place another acrylic ball near but not touching the cuticle. Rotating the brush spread the acrylic out. The best results may require applying extra acrylic balls.
Generally, it takes acrylic ten minutes to cure. If the nails click when tapped with the brush handle you’re good-to-go.
The Finishing Touches
Use a 180 grit nail file for length and shape. Buff with 240 grit and finish with 1,000 grit(4,000 grit for a high-gloss finish).
Polish your nails. In a couple of weeks, you will have to remove or replace
Sorry, the comment form is closed at this time.