The Essential Guideto Preparing YourHome for Paintingin Perth
· 2 min
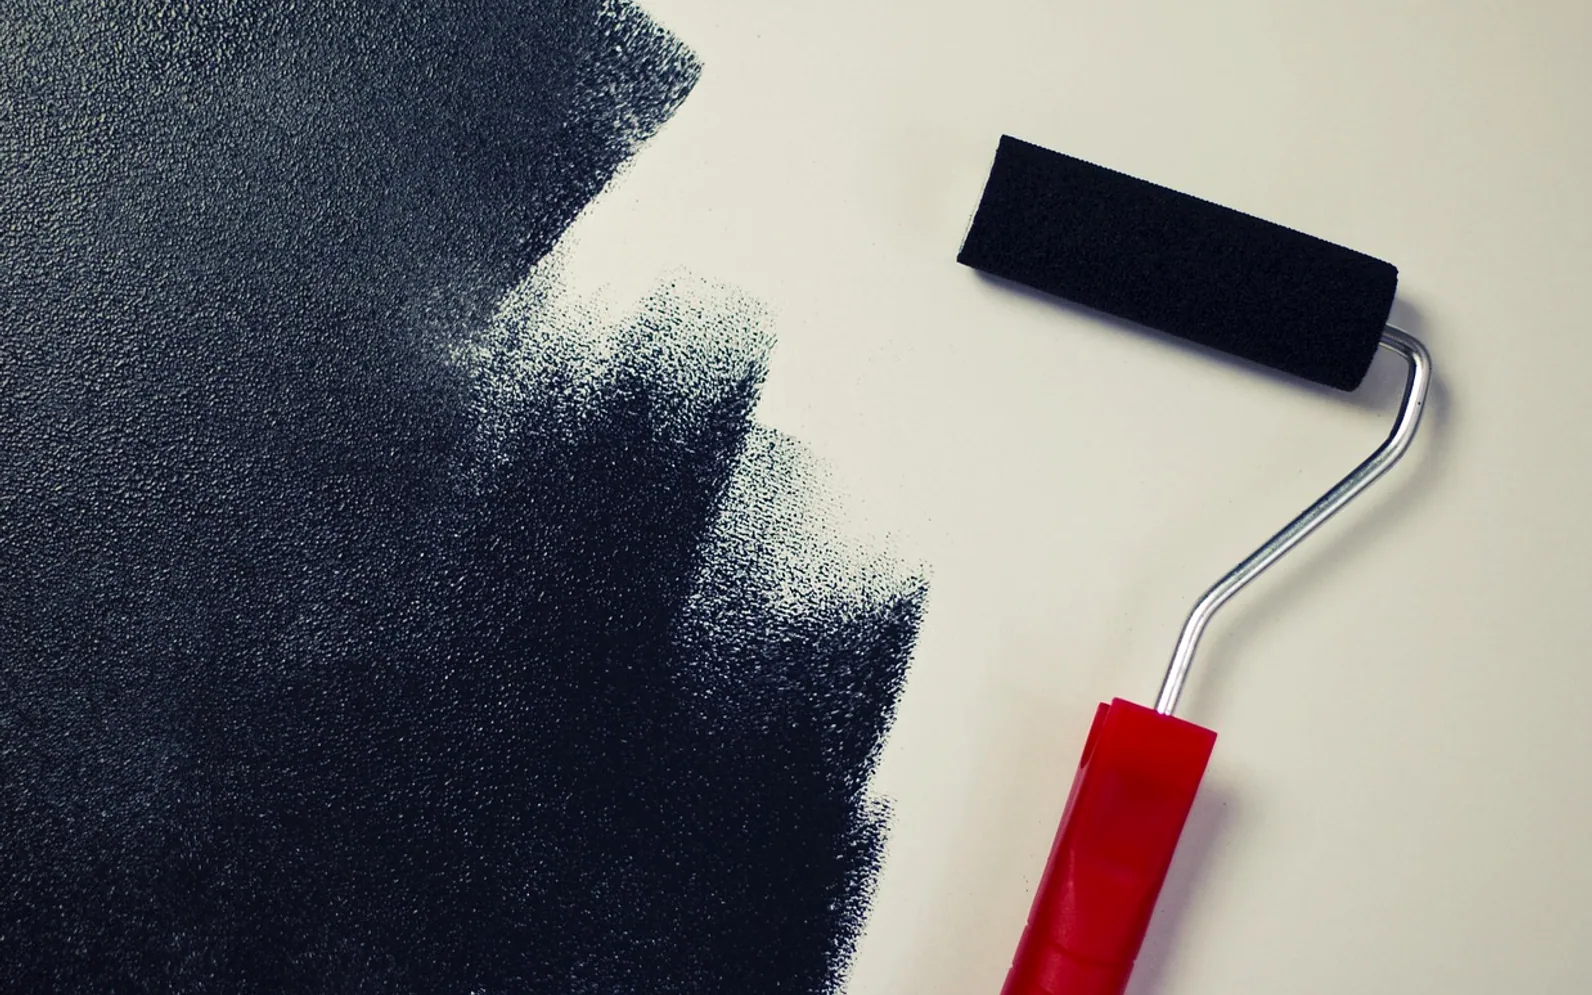
Paint gets the credit, but preparation does most of the work. A wall that has been checked, repaired and cleaned will hold a finish for years, while one painted over dust and hairline cracks starts flaking within a season. In Perth, where strong sun, hot dry spells and wet winters all test a surface, that groundwork matters even more.
Step 1: Look closely before buying anything
Walk around every surface you plan to paint, ideally in daylight. Outside, check for chalky residue that rubs off on your hand, blistering near gutters, gaps around window frames and stains that hint at water getting in. Inside, bathrooms, laundries and kitchens deserve extra attention because steam and grease affect how coatings bond. Note anything that looks like mould; it needs treating rather than covering.
Step 2: Assemble the kit
| Task | What helps |
|---|---|
| Protecting floors and furniture | Drop sheets, plastic film, painter's tape |
| Repairs | Scraper, filler, flexible gap sealant, sandpaper in two grits |
| Cleaning | Sugar soap, sponges, buckets, clean rags |
| Applying paint | Quality brushes, rollers and trays, an extension pole |
For exterior work, ask your paint supplier about products designed to cope with intense UV and wide temperature swings; formulation makes a real difference to how colours hold up.
Step 3: Repair, clean, then mask
Scrape away anything loose, fill cracks and holes, and let the filler cure before sanding it flush. Sanding glossy areas lightly gives new paint something to grip. Next comes washing: sugar soap removes grease and grime that would otherwise sit between wall and paint. Rinse and allow the surface to dry fully, which on a cool winter day can take far longer than expected.
Only then reach for the tape. Mask skirting boards, switches, frames and anything you want to keep crisp, pressing the edges down firmly so paint cannot creep underneath. Move furniture to the centre of rooms or out entirely, and cover what stays.
Step 4: Prime where it counts
Primer is not always needed, but it is wise over bare timber, patched areas, stained surfaces and whenever pale paint is going over a deep shade. It evens out absorption, so the top coat dries to a consistent sheen rather than showing every repair.
Step 5: Pick the right weather window
Perth's climate rewards patience. Avoid painting exterior walls in direct midday summer sun, when paint can dry too fast and leave lap marks, and steer clear of days when rain or heavy dew is forecast before the coat has set. Mild mornings in spring and autumn are often ideal. Indoors, keep windows open for ventilation and follow the drying times on the tin between coats.
Some homeowners enjoy the whole process; others would rather hand the ladders to someone else. If the house has high walls, lots of repairs or a tight deadline, bringing in a team that specialises in residential painting Perth homes can take care of preparation and finish together, leaving you to choose the colours.



Tell us what you think.
We read every message.