From Planning toInstallation: Your UltimateGuide to ProfessionalFencing Contractors
· 2 min
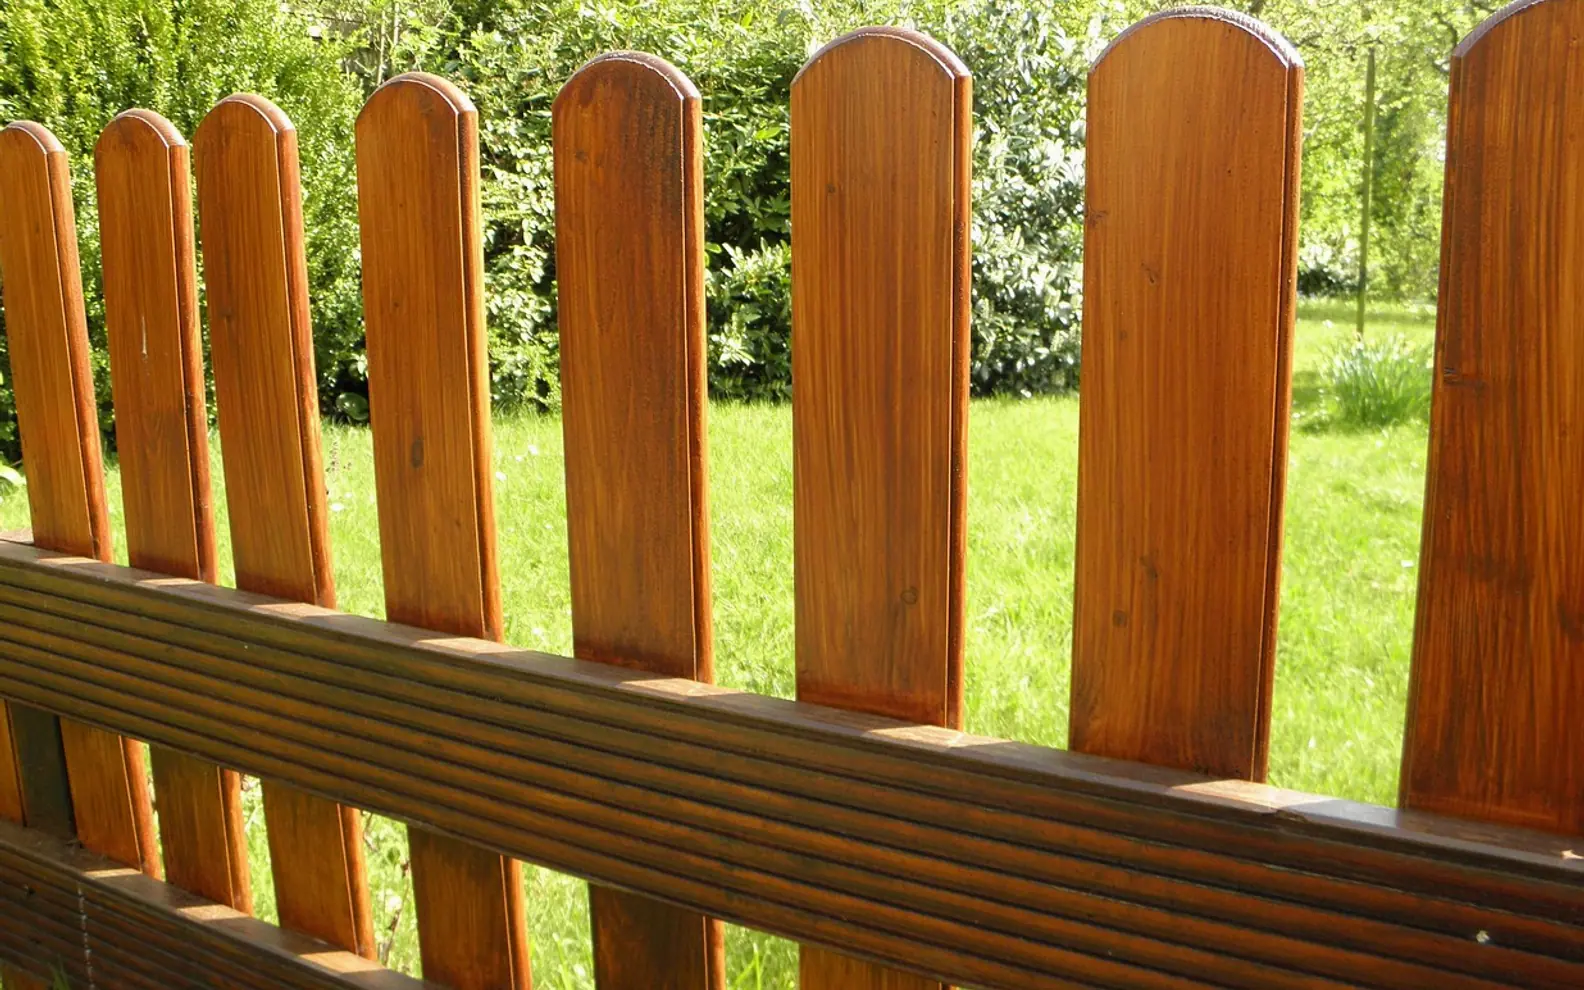
A new fence looks like a single object, yet it is really the end point of a dozen small decisions about soil, slope, neighbours, rules and budget. Homeowners who understand that sequence tend to ask better questions and end up with a boundary that still stands straight years later. Here is the process broken into the stages a good contractor will walk you through.
Stage one: the brief and the site visit
Every project starts with purpose. A pool barrier, a privacy screen along a busy road and a decorative front fence call for very different heights, gaps and materials. Write down what the fence must do before anyone quotes, then let the contractor see the ground. During the visit they will look for underground services, drainage paths, tree roots, changes in level and any existing posts that need removing.
Ask how they will confirm the boundary line. Building on the wrong side of a property line is one of the most expensive mistakes in residential work, and a careful installer will want survey pegs or title plans before setting out.
Stage two: rules, neighbours and approvals
Height limits, pool safety standards and heritage controls differ between councils, so the rules that apply to your street are worth checking early. Shared boundaries often involve a conversation, and sometimes a written agreement, with the people next door. A contractor who works locally usually knows which questions to raise with the council, but the responsibility for permits generally sits with the owner, so keep copies of anything that is approved.
Stage three: choosing the material
| Material | Strengths | Things to consider |
|---|---|---|
| Timber | Warm look, easy to customise | Needs sealing or staining over time |
| Aluminium | Light, rust-resistant, low upkeep | Style options vary by supplier |
| Steel panels | Strong, good for privacy | Coastal air can affect finishes |
| Masonry | Solid, quiet, permanent | Higher labour and footing demands |
Aluminium has become a common pick for pool areas and modern facades because it holds its finish and rarely needs attention. Homeowners comparing slat, picket and pool-compliant designs can browse an experienced Aluminium Fencing Company to see how different profiles look once installed and which options suit a particular site.
Stage four: installation day
Good installation follows a predictable order:
- Set out the line with string and mark post positions at even spacing.
- Dig footings to a depth suited to the soil and the fence height.
- Set and brace posts, checking plumb and alignment before the concrete cures.
- Fix rails, panels or infill, then hang gates with a little clearance for movement.
- Fit latches and hardware, and clean away spoil and offcuts.
Weather can shift this timetable. Concrete needs time to cure, and wet ground can delay digging, so a realistic contractor builds some slack into the schedule.
Stage five: the handover walk
Walk the full length of the fence with the installer before signing off. Check that gates swing freely and self-close if required, that lines are straight to the eye and that posts are firm. Ask for the warranty terms in writing and any care advice for the finish. A fence that has been planned in stages like this rarely surprises its owner, which is the whole point of hiring professionals in the first place.




Tell us what you think.
We read every message.